Particle Game Tutorial
- Jun 16, 2024
- 3 min read
Updated: Jul 3, 2024
Hey there, young coders! Today, we're going to create an awesome particle game using JavaScript. This game will have colorful particles moving around the screen, and you'll control one of them! Let's break it down step by step.
Step 1: Setting Up Our Game World
First, we need to create our game world. We'll use something called a "canvas" to draw our game on. Here's how we set it up:
const canvas = document.getElementById('gameCanvas');
canvas.width = window.innerWidth;
canvas.height = window.innerHeight;
const ctx = canvas.getContext('2d');
This code finds our canvas in the HTML and makes it as big as our screen!
Step 2: Creating Our Particles
Now, let's create our particles! We'll make a special blueprint (called a "class") for our particles:
class Particle {
    constructor(x, y, radius) {
        this.x = x;
        this.y = y;
        this.radius = radius;
        this.dx = (Math.random() - 0.5) * 2;
        this.dy = (Math.random() - 0.5) * 2;
        this.color = Math.floor(Math.random() * COLORS.length);
    }

    draw() {
        ctx.beginPath();
        ctx.arc(this.x, this.y, this.radius, 0, Math.PI * 2);
        ctx.fillStyle = COLORS[this.color];
        ctx.fill();
        ctx.closePath();
    }

    update() {
        this.x += this.dx;
        this.y += this.dy;
        this.draw();
    }
}
This code tells our computer how to create and move our particles!
Step 3: Making Our Player
We need a special particle for our player that we can control:
class Player extends Particle {
    update() {
        let dx = mouseX - this.x;
        let dy = mouseY - this.y;
        let distance = Math.sqrt(dx * dx + dy * dy);
        if (distance > 0) {
            dx /= distance;
            dy /= distance;
        }
        let speed = 2;
        this.x += dx * speed;
        this.y += dy * speed;
        this.draw();
    }
}
This player will follow our mouse cursor!
Step 4: Creating AI Players
Let's add some challenge by creating AI players:
class AIPlayer extends Particle {
    update() {
        // AI logic here
        this.findTarget();
        this.moveTowardsTarget();
        this.draw();
    }
}
The AI players will try to eat smaller particles and run away from bigger ones!
Step 5: Game Loop
Now, we need to make our game run continuously:
function animate() {
requestAnimationFrame(animate);
ctx.clearRect(0, 0, canvas.width, canvas.height);
handleParticles();
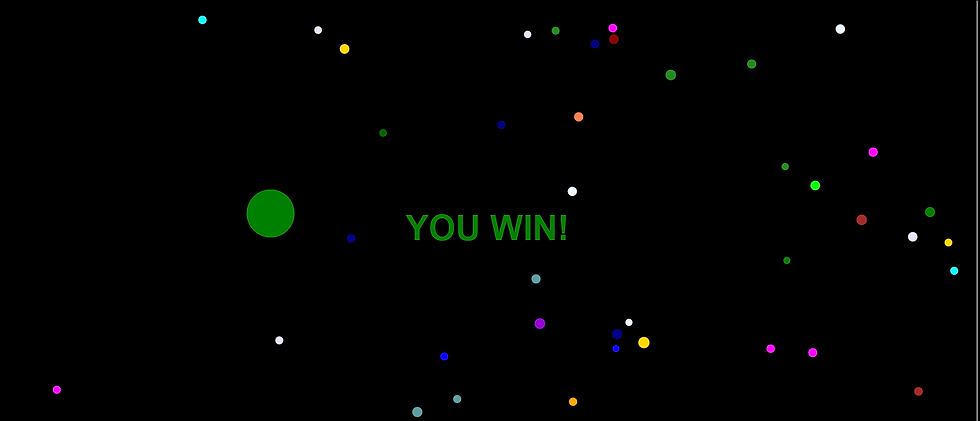
if (!areAIPlayersLeft() && particles.includes(player)) {
showMessage("YOU WIN!", "green");
}
}This function will run over and over, updating and drawing all our particles!
Step 6: Handling Collisions
We need to make our particles interact when they bump into each other:
function handleCollision(i, j) {
    let dx = particles[i].x - particles[j].x;
    let dy = particles[i].y - particles[j].y;
    let distance = Math.sqrt(dx * dx + dy * dy);

    if (distance < particles[i].radius + particles[j].radius) {
        // Collision logic here
    }
}
When particles collide, the bigger one will eat the smaller one and grow!
Step 7: Adding Sound
Let's make our game more exciting by adding sound:
function playSound(color) {
    const sound = document.getElementById(KEYS[color]);
    sound.currentTime = 0;
    sound.play();
}
This will play a different piano note for each particle color!
Final Step: Starting the Game
Finally, we need to start our game when the player clicks the start button:
startButton.addEventListener('click', function() {

    animate();
    this.style.display = 'none';

});
And there you have it! You've just created your very own particle game. Try running this code and see your colorful particles come to life. Can you eat all the AI players and win the game?
Here's the complete code: https://codepen.io/webd3vguy/pen/VwOoVbX
Remember, coding is all about experimenting and having fun. Try changing some numbers in the code and see what happens. Maybe you can make the particles move faster, or change their colors!
Happy coding, young game developers! 🎮👨💻👩💻


Comments